Your Renovation Just Got More Complicated — Here’s What to Do
You pulled up the old flooring. Knocked down a wall. Maybe you moved the kitchen island three feet to the left. And now you’re staring at a drain line that runs exactly where your new layout needs to go.
Sound familiar?
Relocating plumbing lines is one of the most common mid-renovation surprises homeowners run into — and one of the most misunderstood. It’s not just “move the pipe.” There are slope requirements, venting rules, permit considerations, and material decisions that can quietly derail your whole timeline.
Here’s the good news: when you understand what’s actually involved, you can plan smarter, budget more accurately, and avoid the costly mistakes that push projects weeks past deadline.
Let’s break it down.
Why Moving Drain Lines Is Harder Than Moving Supply Lines
Not all plumbing is created equal. Supply lines — the ones that bring water to your fixtures — run under pressure. That means they can run in almost any direction without much fuss. Flexible, forgiving, relatively easy to reroute.
Drain lines are a completely different story.
Gravity does the work in drain systems. That means every pipe needs to slope at a specific angle — typically ¼ inch of drop per foot of horizontal run — so waste flows away from your fixture and toward the sewer or septic system. Move a drain line without accounting for this, and you’re looking at slow drains, clogs, or worse.
Here’s the thing: in a renovation, you often have limited ceiling height below the floor, existing framing in the way, and other trades working in the same space. Getting the slope right while threading through all of that takes real experience. It’s not a job for guesswork.
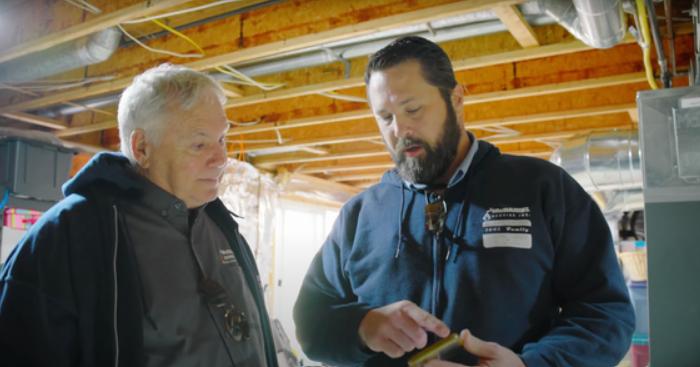
McDaniel Service, Inc. has been solving exactly these kinds of problems for Northern Virginia homeowners since 2010, with a team that brings over 300 combined years of trade experience to every project. That kind of depth matters when your renovation hits a wall — literally.
The Permits Question Nobody Wants to Ask
Look, nobody likes adding a permit to their renovation budget. But here’s what matters: in most jurisdictions, relocating drain or supply lines requires a plumbing permit. That means an inspection. That means the work has to be done to code.
If you skip the permit and sell your home later, it can come back to bite you during the buyer’s inspection. If something leaks and causes water damage, your insurance company may ask whether the work was permitted.
Getting it done right from the start — by a licensed plumber who pulls the permit for you — actually protects your investment.
The exception is minor repairs or like-for-like replacements. But if you’re moving a fixture even a few feet, check with your local building department or ask your plumber. It’s a five-minute conversation that can save a major headache.
What Happens When You Add a Drain Where There Wasn’t One Before
Adding a new wet bar in the basement? A second bathroom upstairs? A utility sink in the laundry room? Each of these scenarios means running a new drain line that has to connect to your existing drain-waste-vent (DWV) system.

That system isn’t just pipes. It includes vent stacks — vertical pipes that run through your walls and out your roof, allowing air into the drain system so water flows freely and sewer gases don’t back up into your home. Any new drain line needs to be properly vented.
This is where DIY plumbing often goes wrong. The drain gets installed. It works for a while. Then you start noticing gurgling sounds from other fixtures, or a faint sewer smell in the room. That’s a venting problem — and it usually means opening up walls you already finished.
A licensed plumber maps your existing DWV system before starting, then figures out the most efficient and code-compliant way to tie in the new work. It’s the kind of thing that doesn’t seem important until it is.
Matching New Pipe to Old: A Quick Comparison
If your home was built before the 1980s, there’s a good chance your drain lines are cast iron or galvanized steel. Newer homes use PVC or ABS plastic. When you’re adding to an older system, your plumber needs to transition between materials cleanly.
| Pipe Material | Common Era | Typical Use | Notes for Renovation |
| Cast Iron | Pre-1980 | Drain/waste lines | Durable but heavy; requires special fittings to connect modern pipe |
| Galvanized Steel | 1950s–1980s | Supply lines | Prone to corrosion buildup; often replaced during renovations |
| Copper | 1960s–present | Supply lines | Still the gold standard; easy to extend or modify |
| CPVC | 1980s–present | Supply lines | Plastic alternative to copper; inexpensive but can become brittle |
| PVC | 1980s–present | Drain/waste lines | Lightweight, easy to work with; current standard |
| PEX | 2000s–present | Supply lines | Flexible, freeze-resistant; popular in new construction and retrofits |
This matters for your renovation because mixing incompatible materials — or using the wrong fittings — can cause leaks at the connections, even years later. Your plumber should specify exactly what’s being used and why.
What to Tell Your Plumber Before Work Starts
The more context you give, the smoother things go. Before your plumber shows up, try to have answers to these questions:
What is the new layout? Even a rough hand drawing of where the sink, toilet, or shower will land helps enormously. Your plumber can immediately start thinking about drain slope, vent access, and tie-in points.
Is the subfloor or ceiling open yet? Timing matters. Rough-in plumbing should happen before drywall goes up and before flooring goes down. If your contractor has already closed up the walls, costs go up.
What’s below the floor? In a two-story home, the space below your bathroom might be a finished ceiling. In a slab-on-grade house, moving drain lines could mean cutting concrete. Both are doable — but they affect the approach and the price.
Are you on city sewer or septic? This affects venting design, pipe sizing, and what inspections are required.
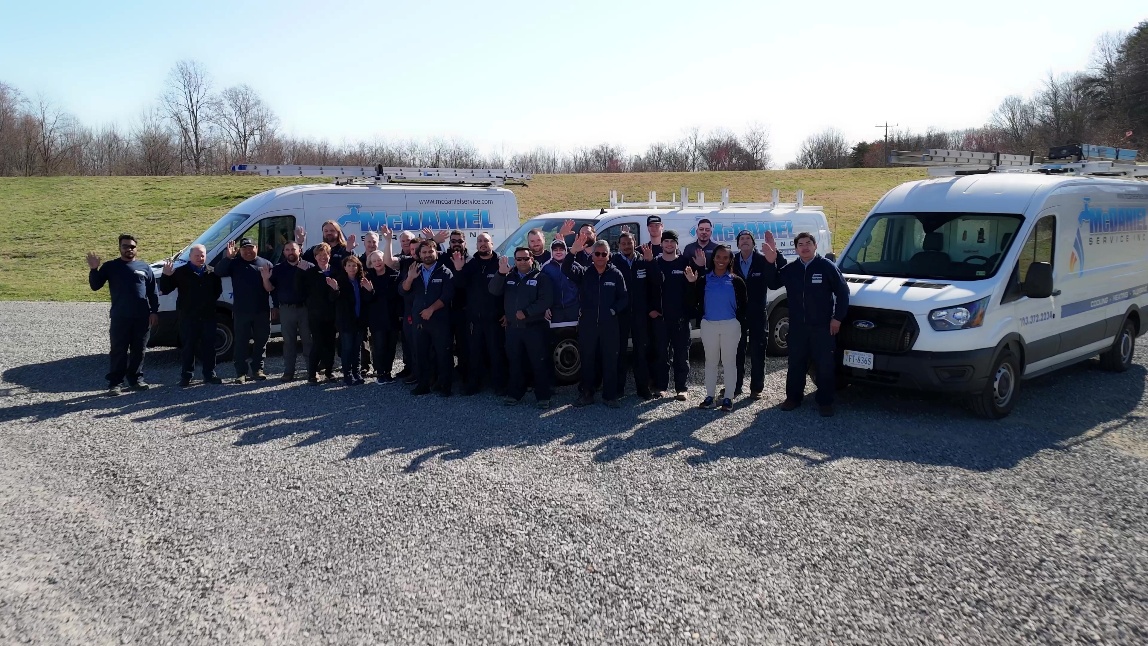
McDaniel Service sends experienced technicians — not subcontractors — so when you have these conversations, you’re talking directly with someone who will actually do the work. That continuity makes a real difference on complex renovation jobs.
Frequently Asked Questions
How far can you move a drain line during a renovation?
Technically, drain lines can be moved quite a distance — but every foot of horizontal run requires ¼ inch of drop toward the sewer. In practice, this means you’re often limited by available floor joist depth or ceiling clearance below. A plumber can assess your specific structure and tell you what’s realistic before you commit to a layout.
Do I need a permit to move a sink drain a few feet?
In most Virginia jurisdictions, yes — any relocation of drain or supply piping typically requires a plumbing permit. The permit process protects you: it ensures the work is inspected and meets code, which matters if you sell the home or file an insurance claim later.
Can I rough in the plumbing myself and have a plumber inspect it?
Some homeowners do this to save money, and in some areas it’s allowed for owner-occupied homes. However, if the rough-in isn’t correct, the plumber you bring in to inspect will need to redo parts of it anyway. For drain systems especially — where slope, venting, and cleanout placement all have to be right — most experienced plumbers recommend letting a pro handle the rough-in from the start.
What’s the difference between rough-in plumbing and finish plumbing?
Rough-in plumbing is everything that goes inside the walls and floors before surfaces are closed up — drain lines, supply lines, vent stacks, and stub-outs. Finish plumbing happens after, when the fixtures themselves (sinks, toilets, faucets, shower valves) are installed and connected. Both phases need to be coordinated with your general contractor’s timeline.
Don’t Let the Pipes Derail Your Project
Renovations are stressful enough without a plumbing surprise shutting things down for two weeks. The homeowners who come out ahead are the ones who bring in a plumber early — before the walls close up, before the floor goes down, before the tile is set.
It’s frustrating when a project stalls because of something that could have been planned for. But here’s the thing: most plumbing complications in renovations are predictable. An experienced eye catches them at the planning stage, not after.
McDaniel Service, Inc. works with renovation homeowners across Northern Virginia every day. Their licensed plumbers understand how to coordinate with your general contractor, pull the right permits, and get the rough-in done right the first time — so the rest of your project can move forward.
Ready to get your plumbing sorted before it becomes a problem? Reach out to McDaniel Service at mcdanielservice.com and talk to someone who actually knows your system.